How to Fine-Tune AI Image Models?
How to Fine-Tune AI Image Models
Introduction
Fine-tuning AI image models allows you to adapt existing models to meet specific requirements, ensuring that the generated images match your brand's style, colors, and themes. In this guide, we will walk through the process of fine-tuning your AI image models using Kwore’s interface, utilizing the imported images to illustrate each step.
Step 1: Start the Fine-Tuning Process
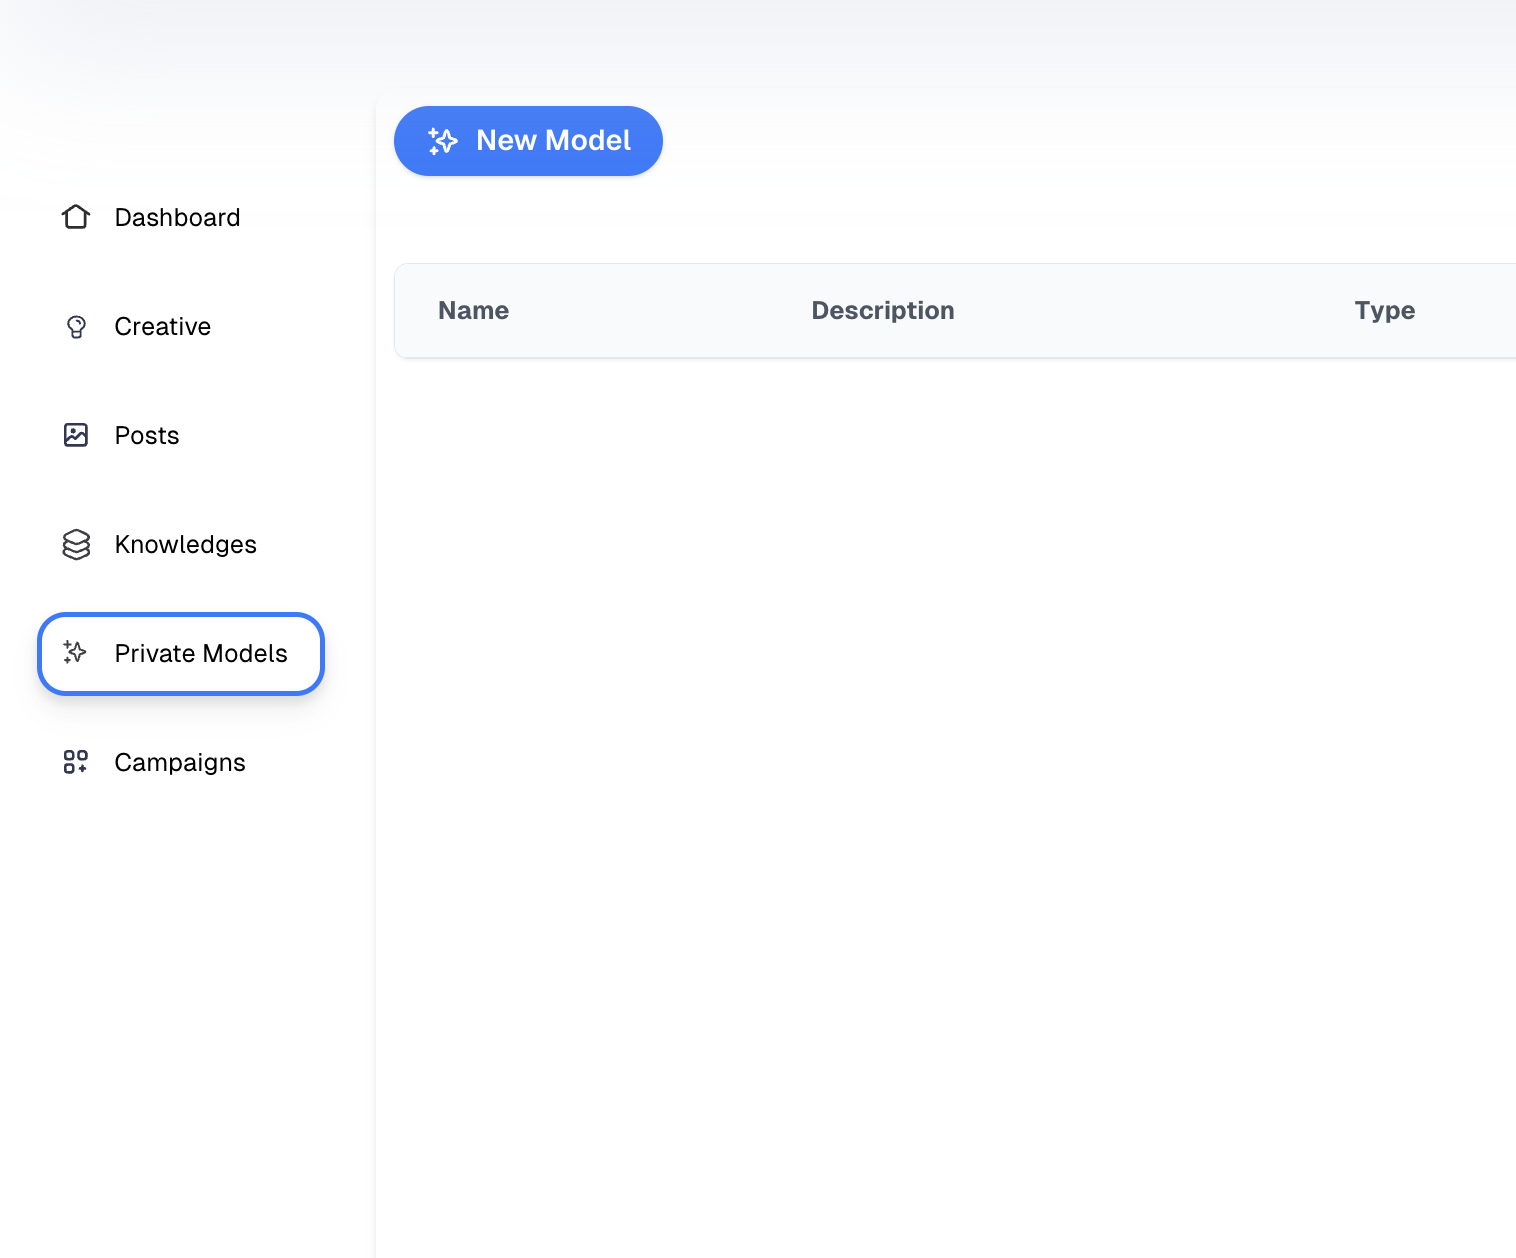
To begin fine-tuning your image model, navigate to the 'Private Models' section in your Kwore dashboard. Here’s how you can do it:
- Click on 'Private Models' in the main menu of the dashboard.
- Click on the 'New Model' button to initiate the fine-tuning process.
Step 2: Input Basic Model Information
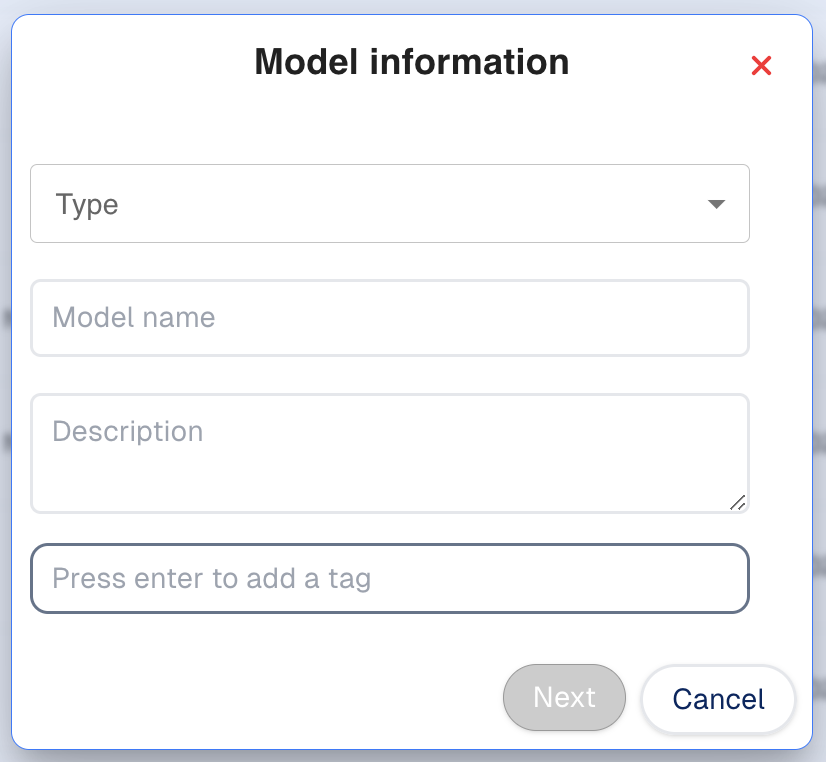
You’ll now provide some basic information about the model you intend to fine-tune:
- Select the 'Type' of model from the dropdown (e.g., Text or Image.), here we need to choose 'Image Model'.
- Enter the Model Name and a brief Description.
- Add relevant Tags to help categorize your model (optional).
- Click Next to proceed.
Step 3: Select the Image Type and Upload Training Data
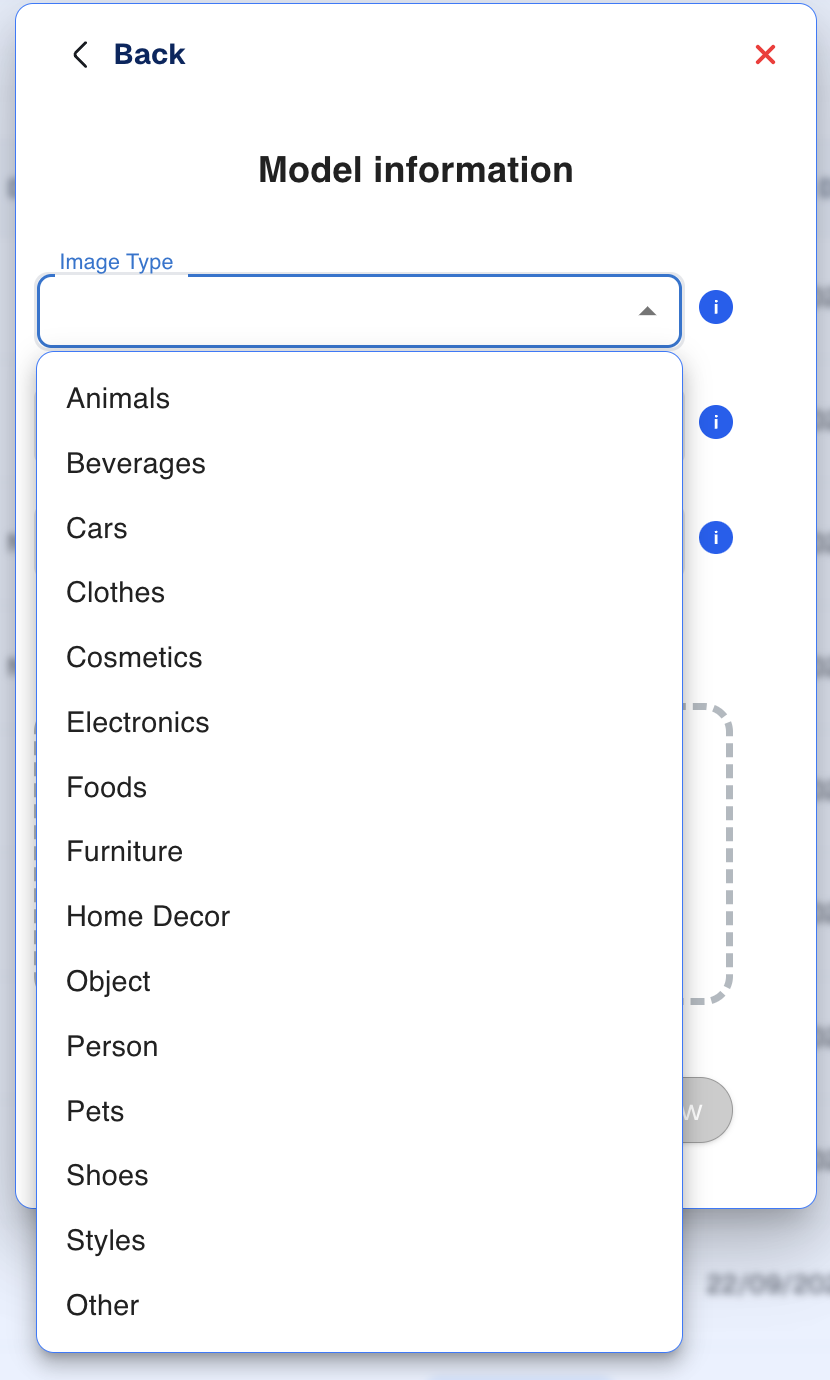
It’s time to specify the image type and upload your training images:
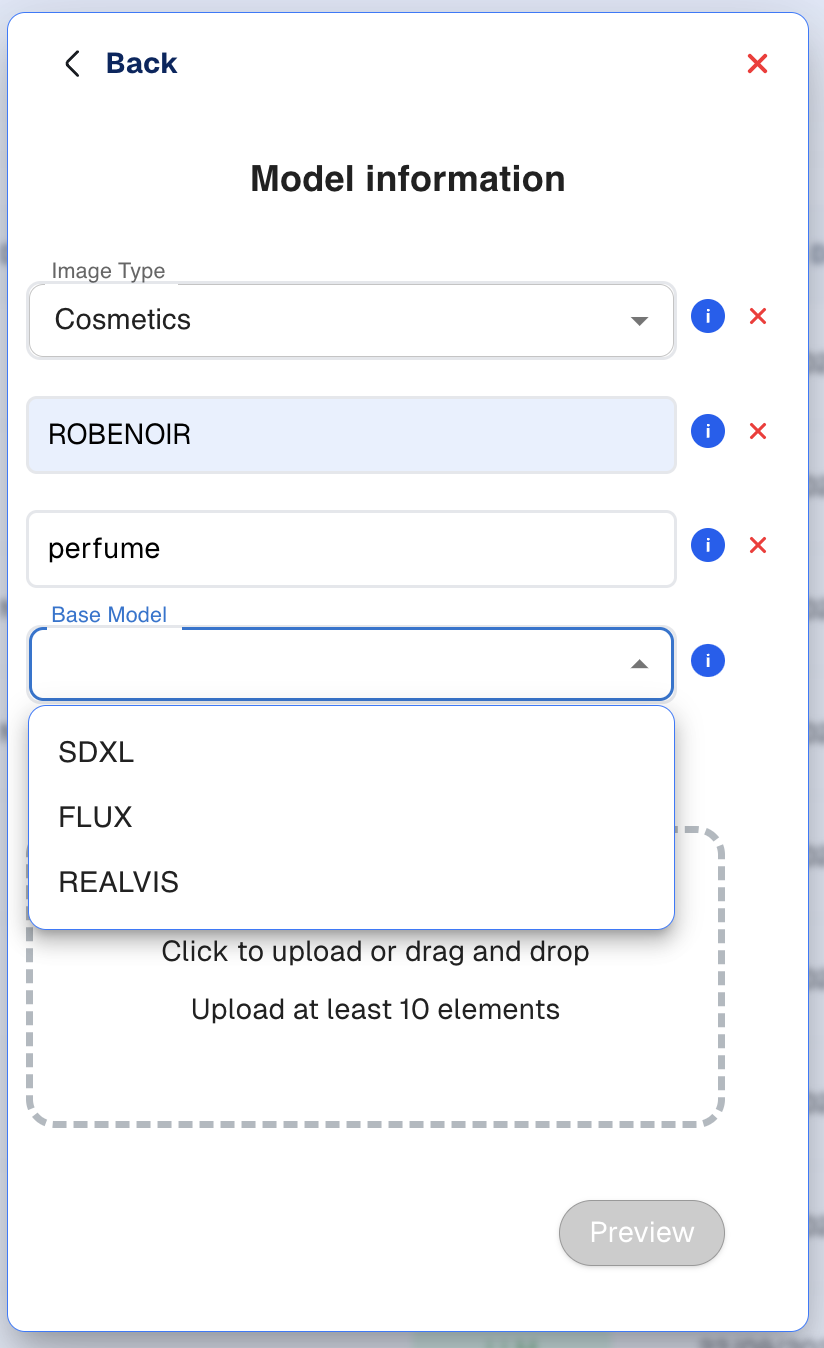
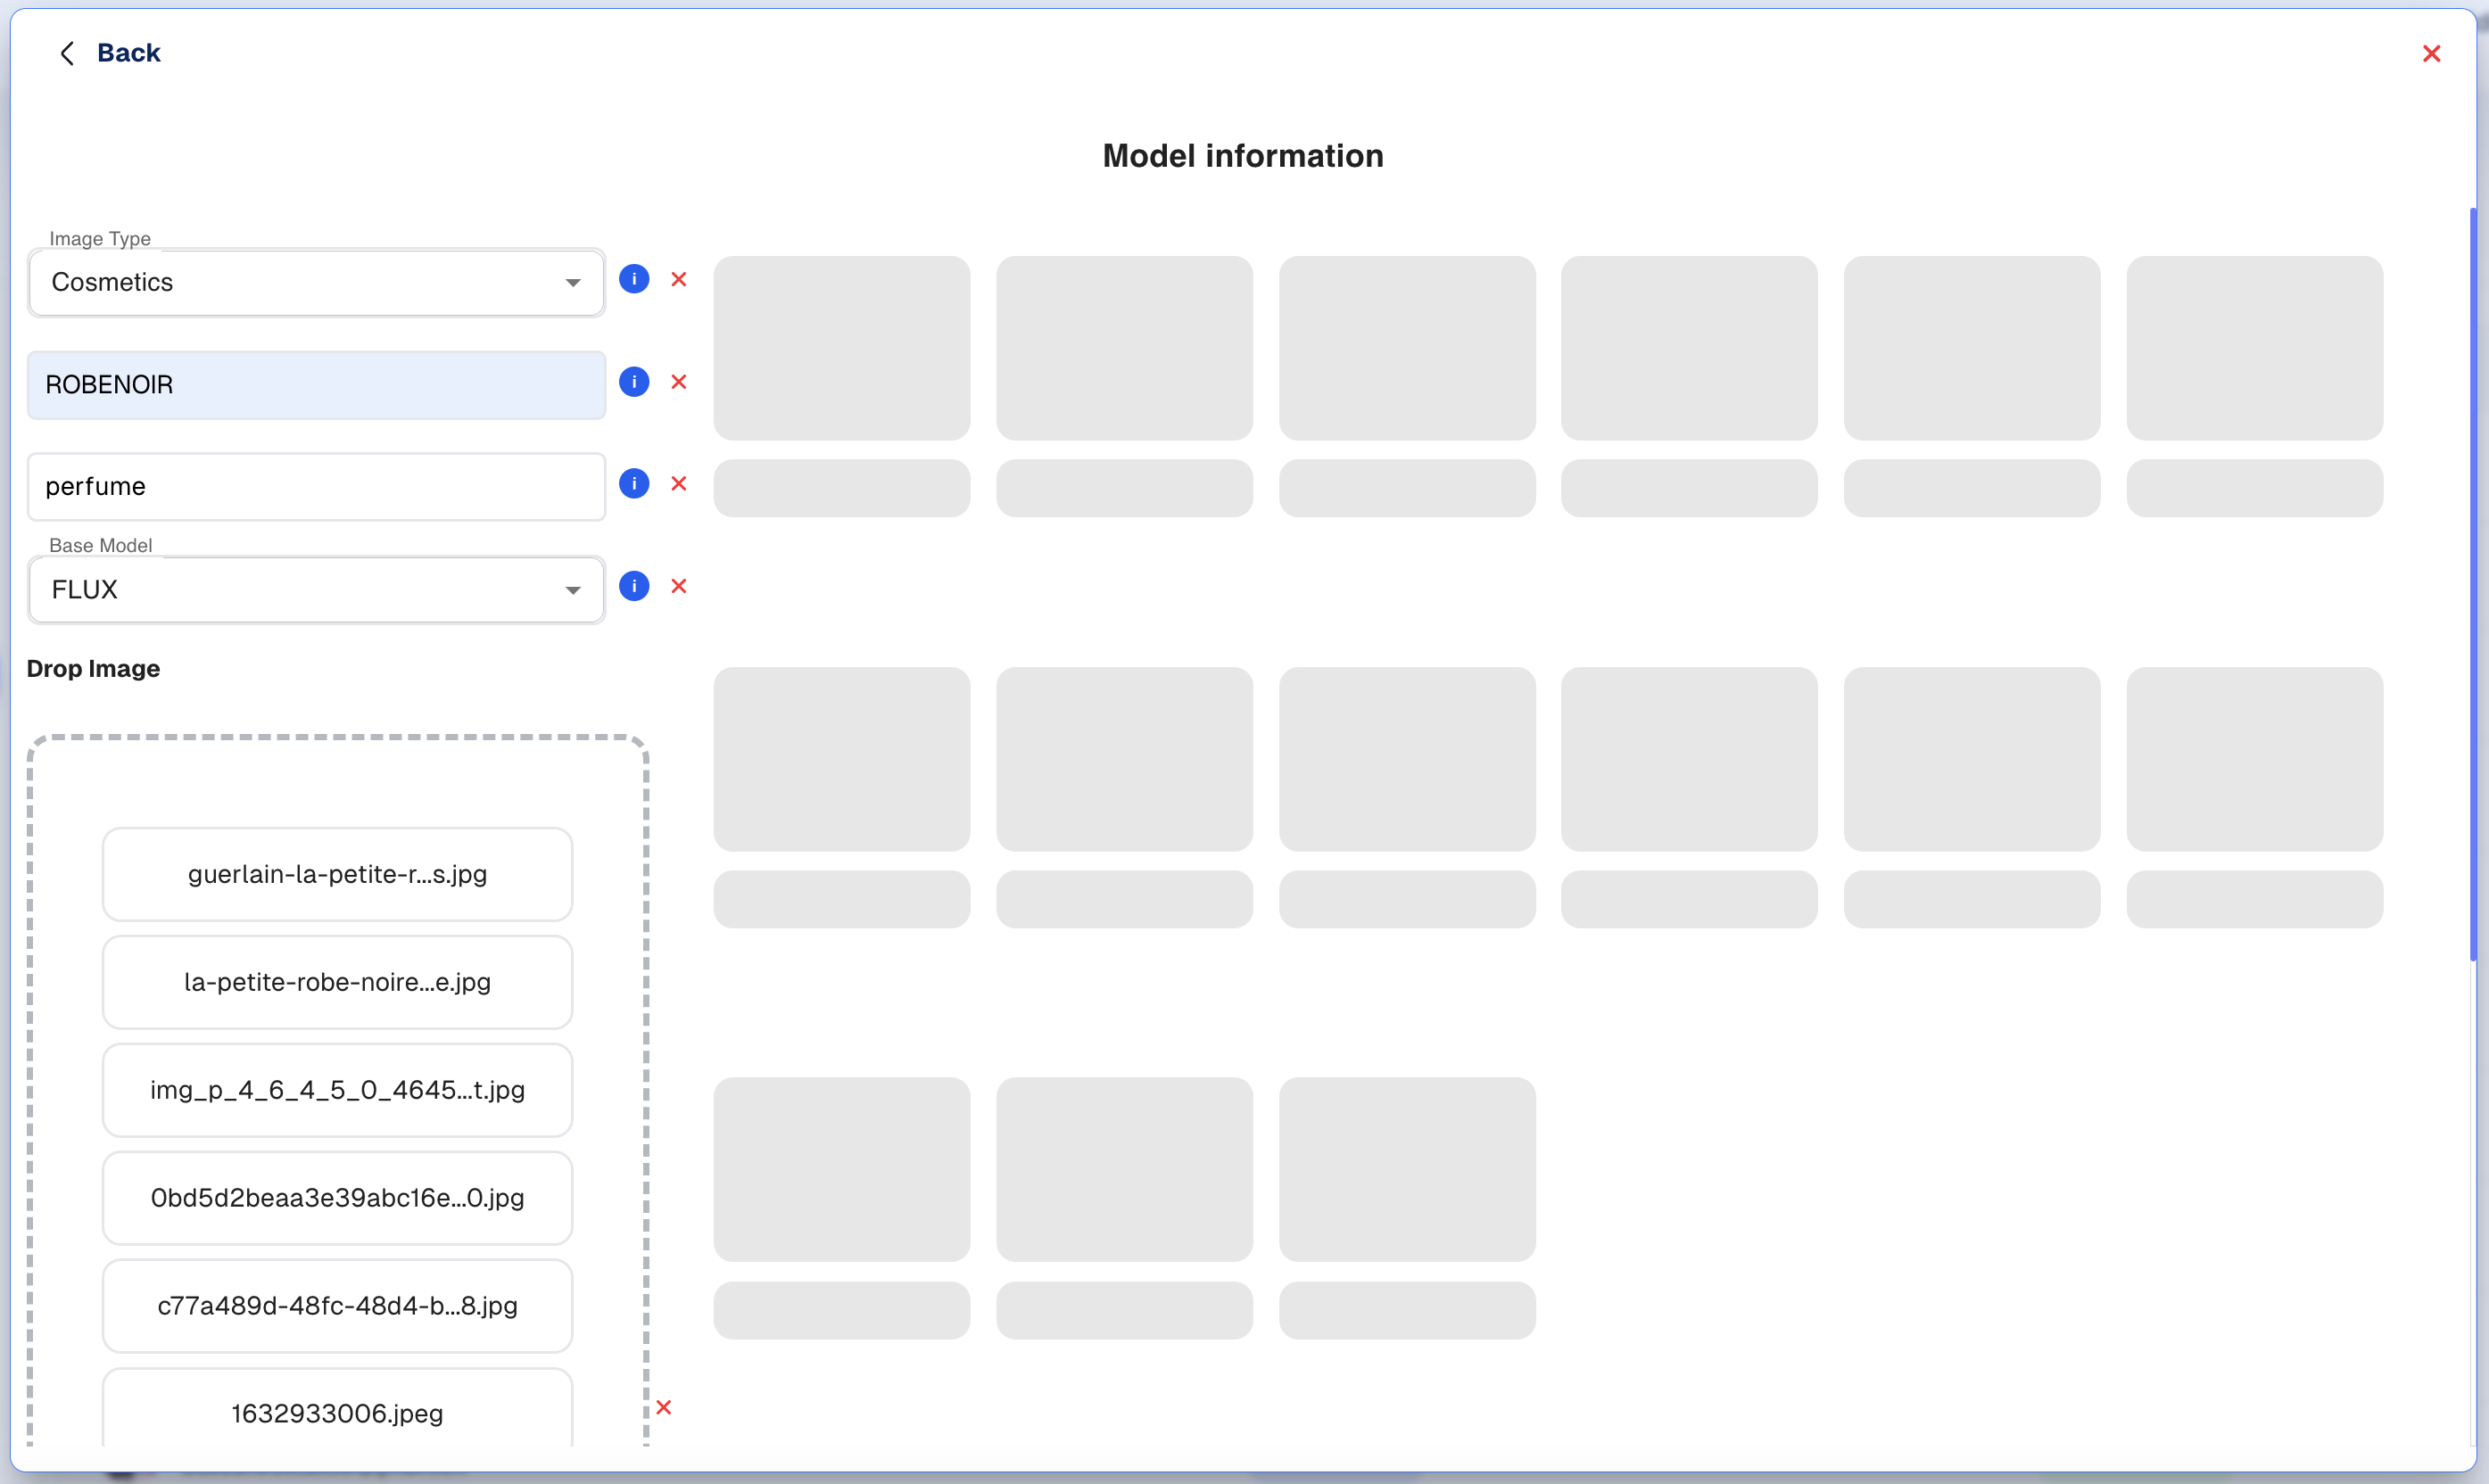
- Choose the Image Type (e.g., Cosmetics, Clothes) from the dropdown.
- Enter the model’s brand name and type.
- Choose a UNIQUE keyword that will match your style or product.
- If it's not a style: Try to specify further the kind of target object / character.
- Choose the Base Model to use for fine-tuning (e.g., FLUX, SDXL, etc.).
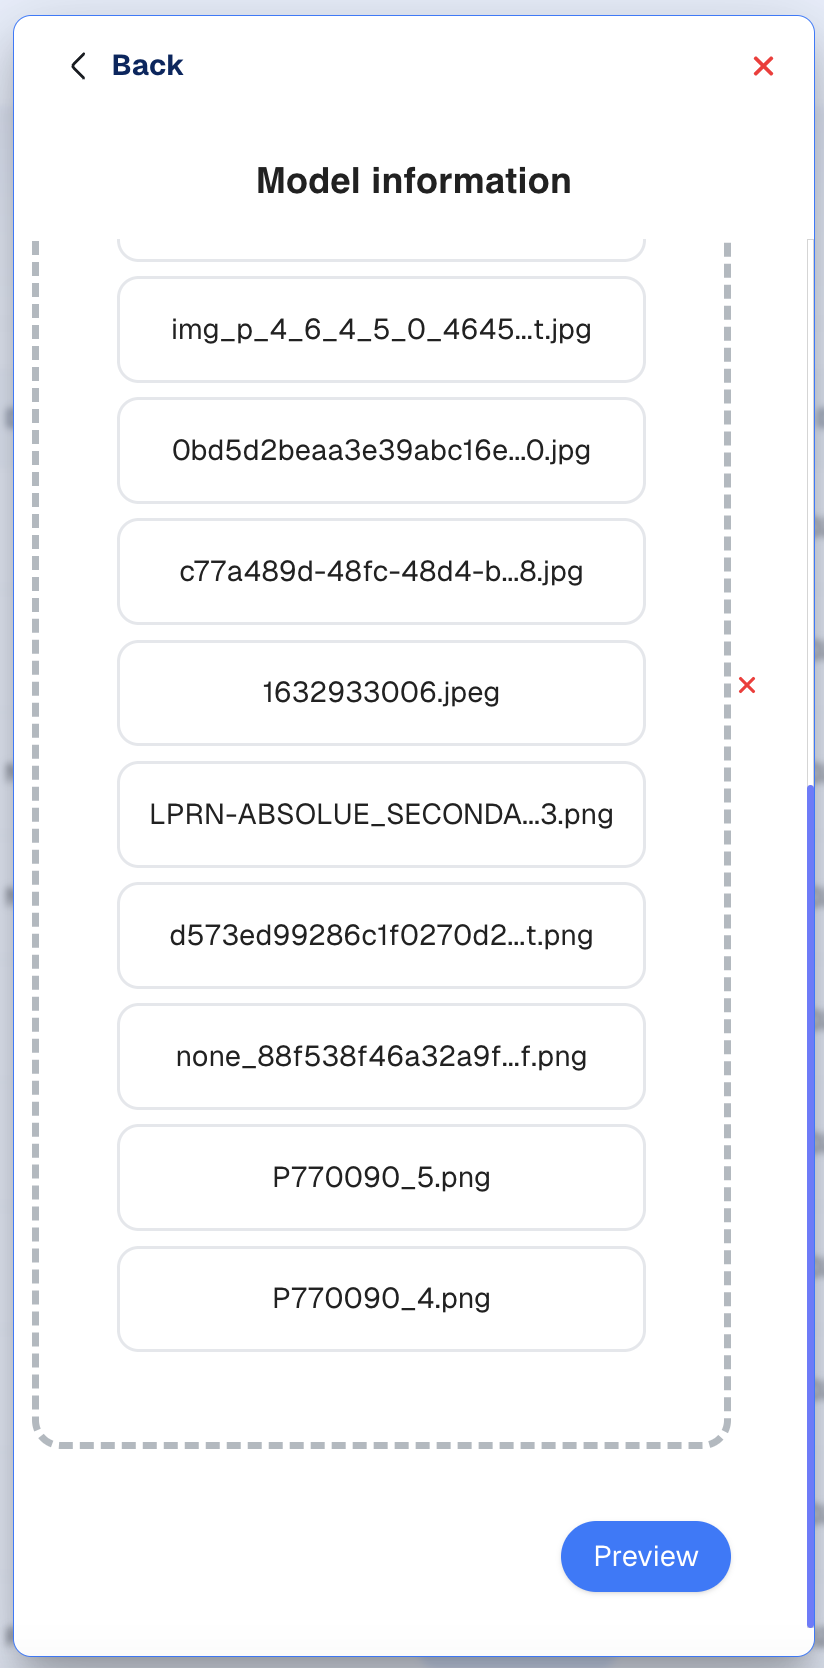
- Upload at least 10 images by clicking on the Upload Area or dragging and dropping your files.
Important: In order to better make the choice over the type of base model.
- FLUX: High Quality, Low learning speed.
- SDXL and REALVIS: Medium Quality, High learning speed
Step 4: Reviewing Uploaded Training Images
Review all the uploaded images before proceeding with the fine-tuning process:
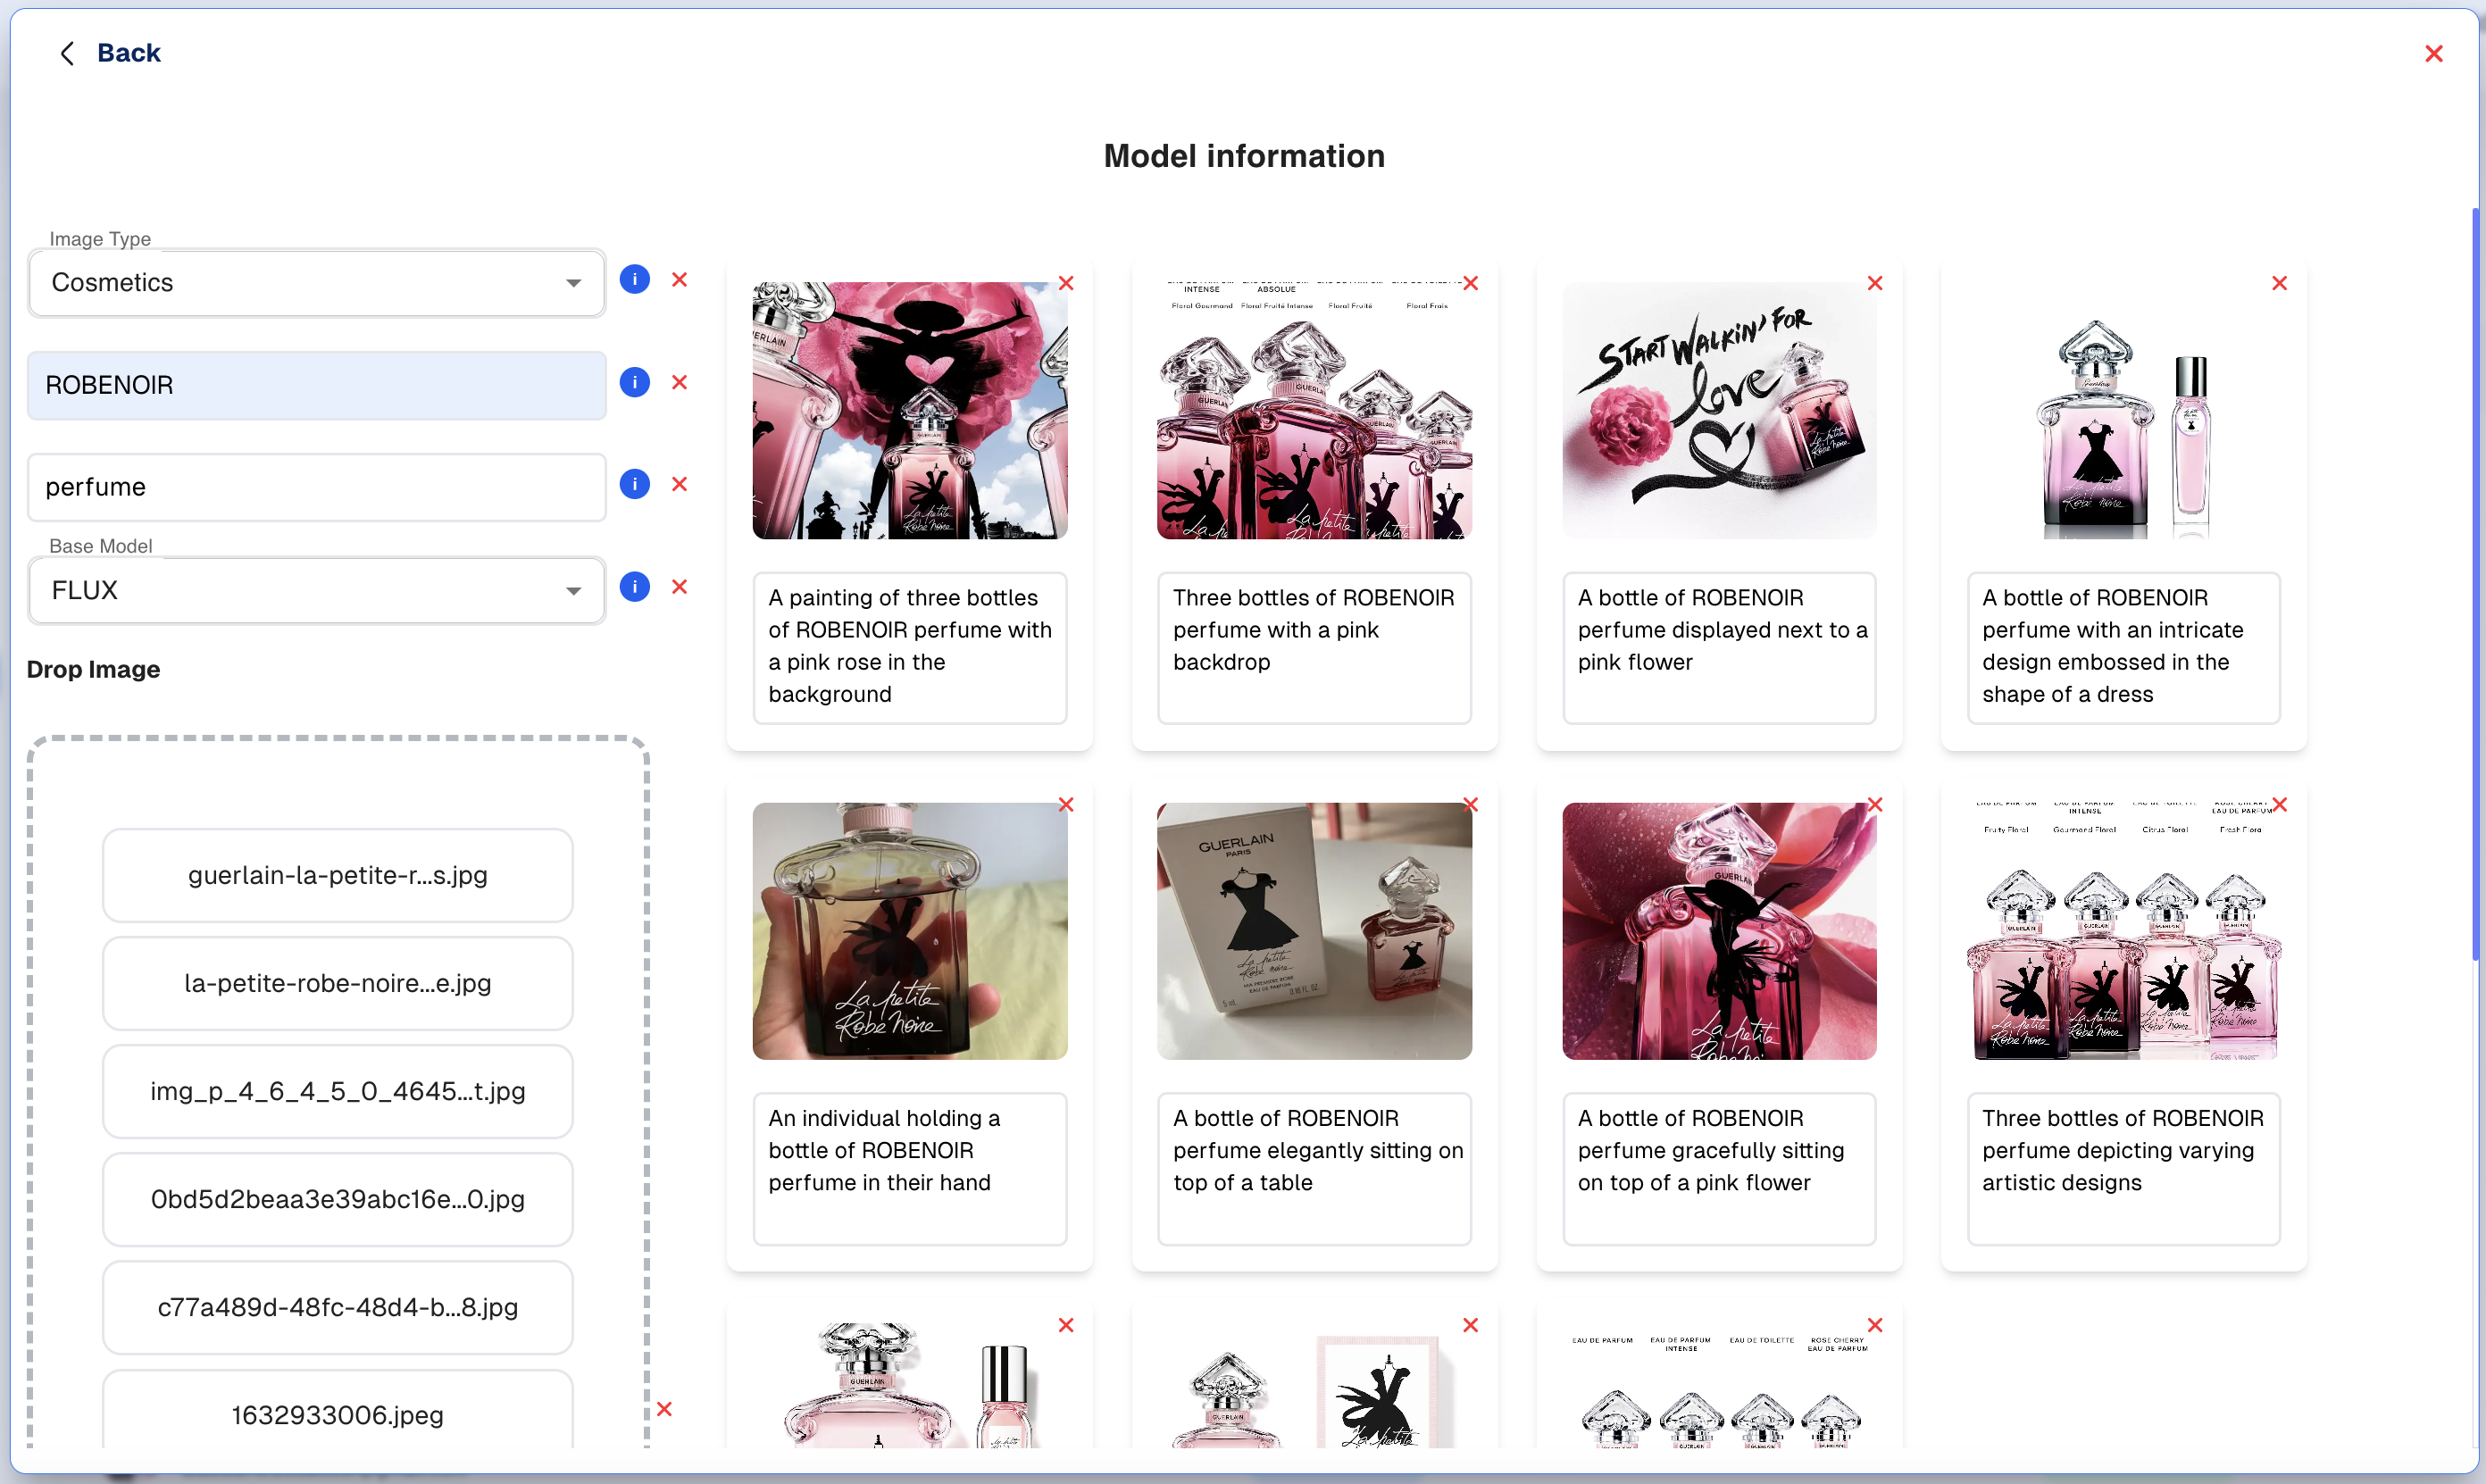
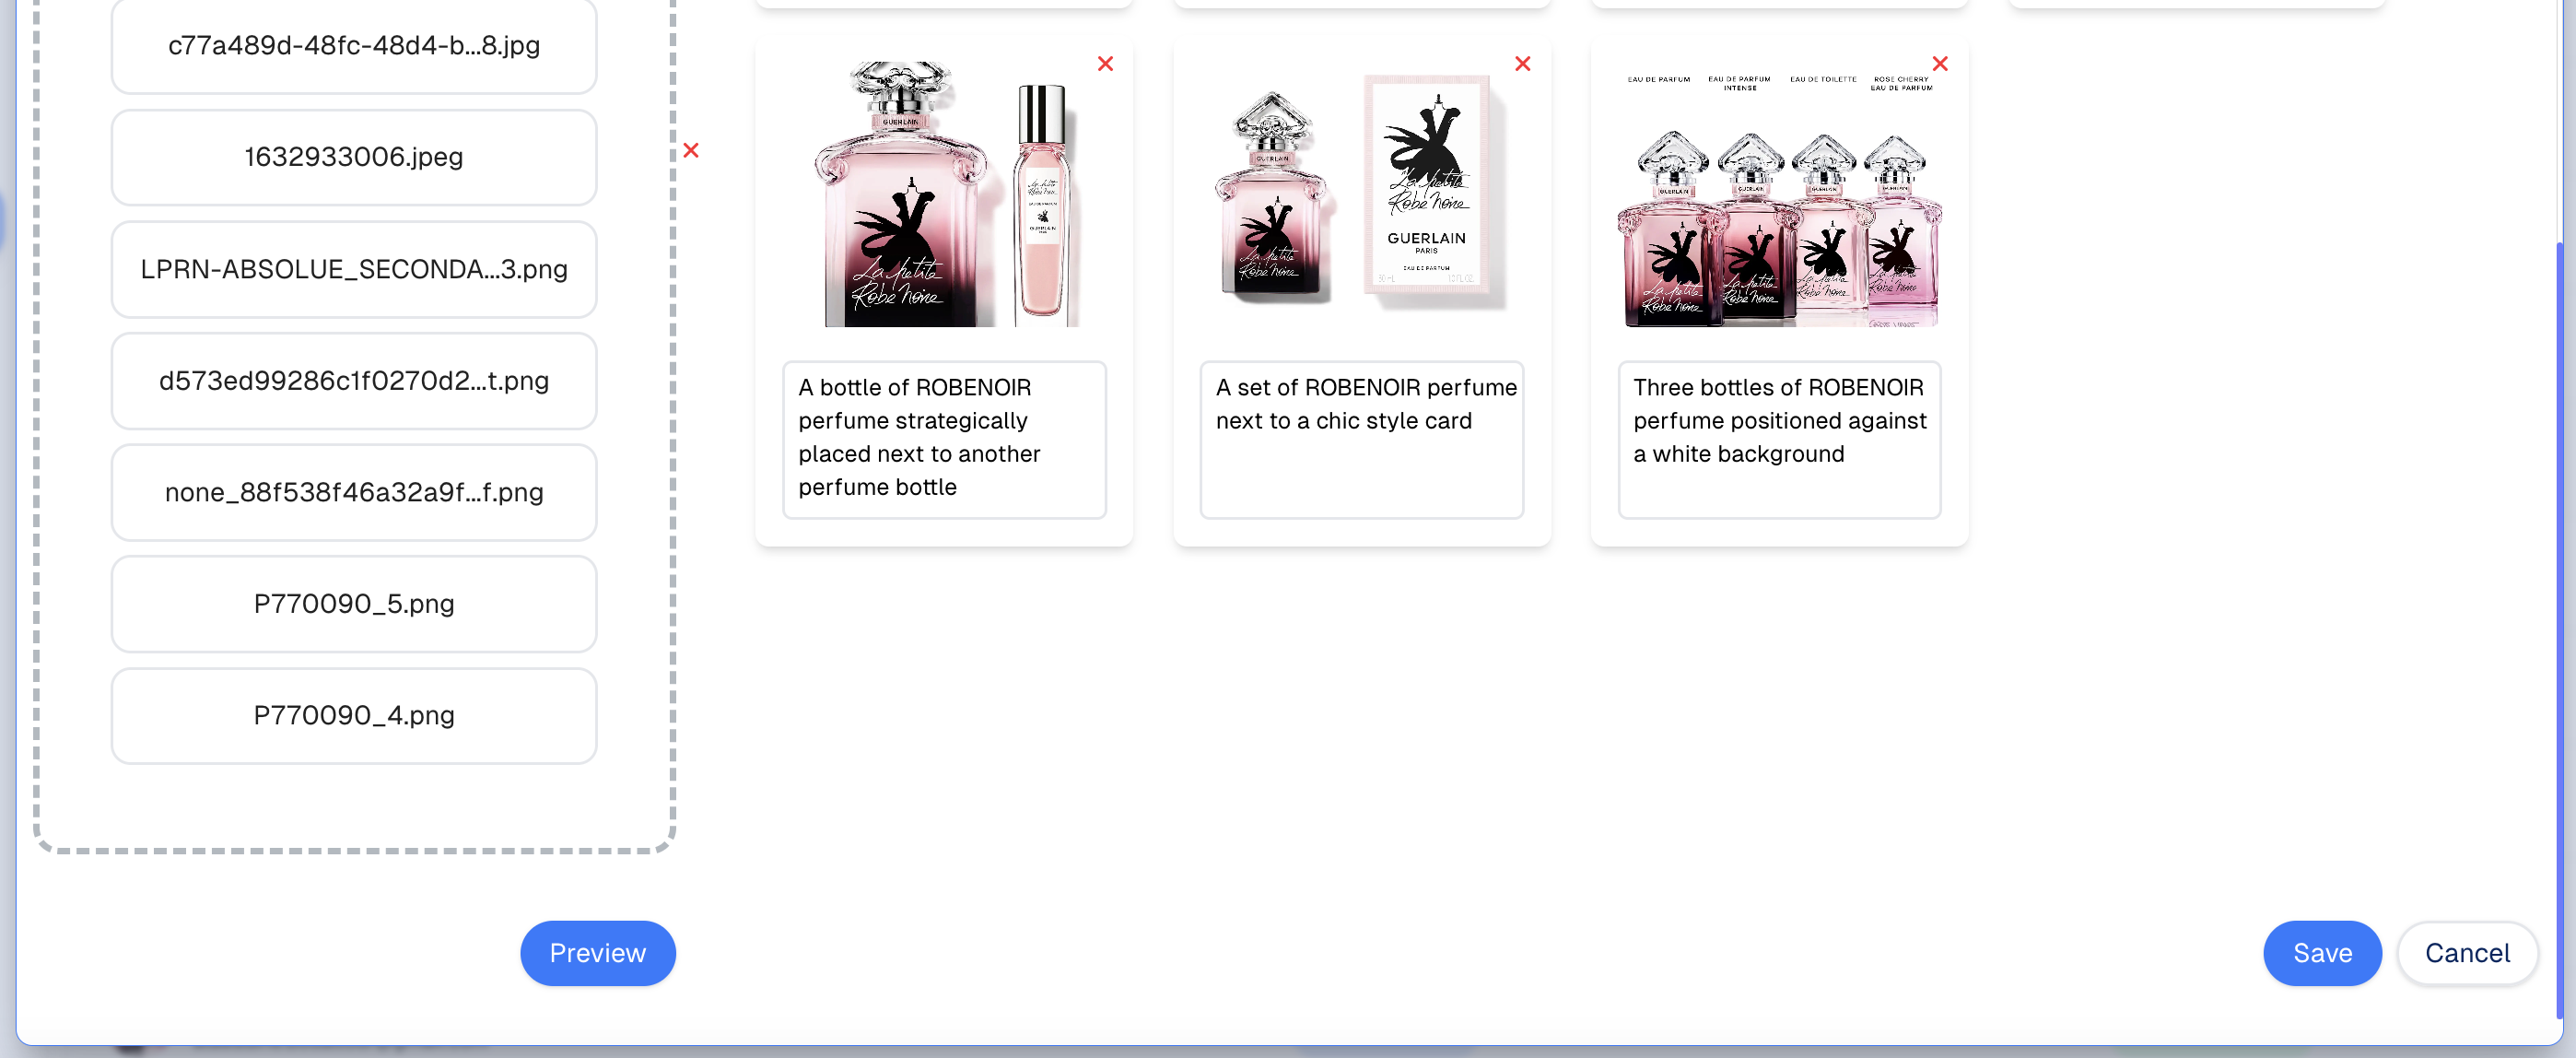
- Once you have uploaded and reviewed all images, click Preview and then Kwore engine will generate, using AI, a description for every uploaded image.
- Ensure that the images are clear and represent the product or style accurately.
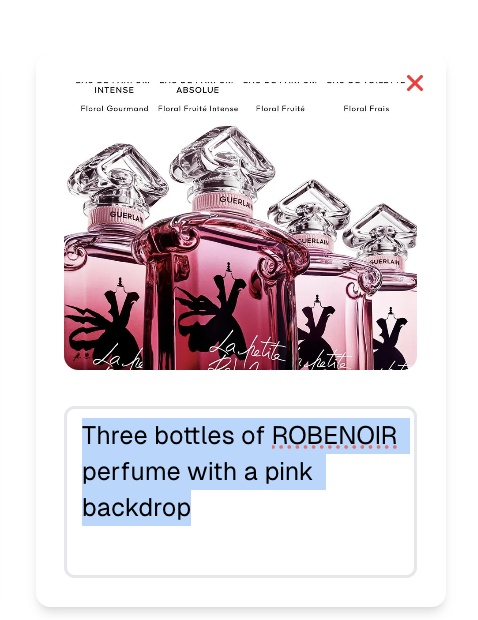
- It's important to verify the coherance of the descriptions, you can modify manually all the data.
- Delete any unnecessary or irrelevant images by clicking on the red 'X' button.
- Kwore will now use the uploaded images to adapt the base model according to your specifications.
Reviewing uploaded images for quality and relevance. Reviewing uploaded images for quality and relevance. Reviewing the data preparation. Adapt some descriptions.
Step 5: Start the Fine-Tuning Process
- Once you have uploaded and reviewed all images, click Save and then Kwore engine will create a new private model personalized to your needs.
- The private model creation takes from 15 to 40 minutes, depending on the base model type and kind of asset.
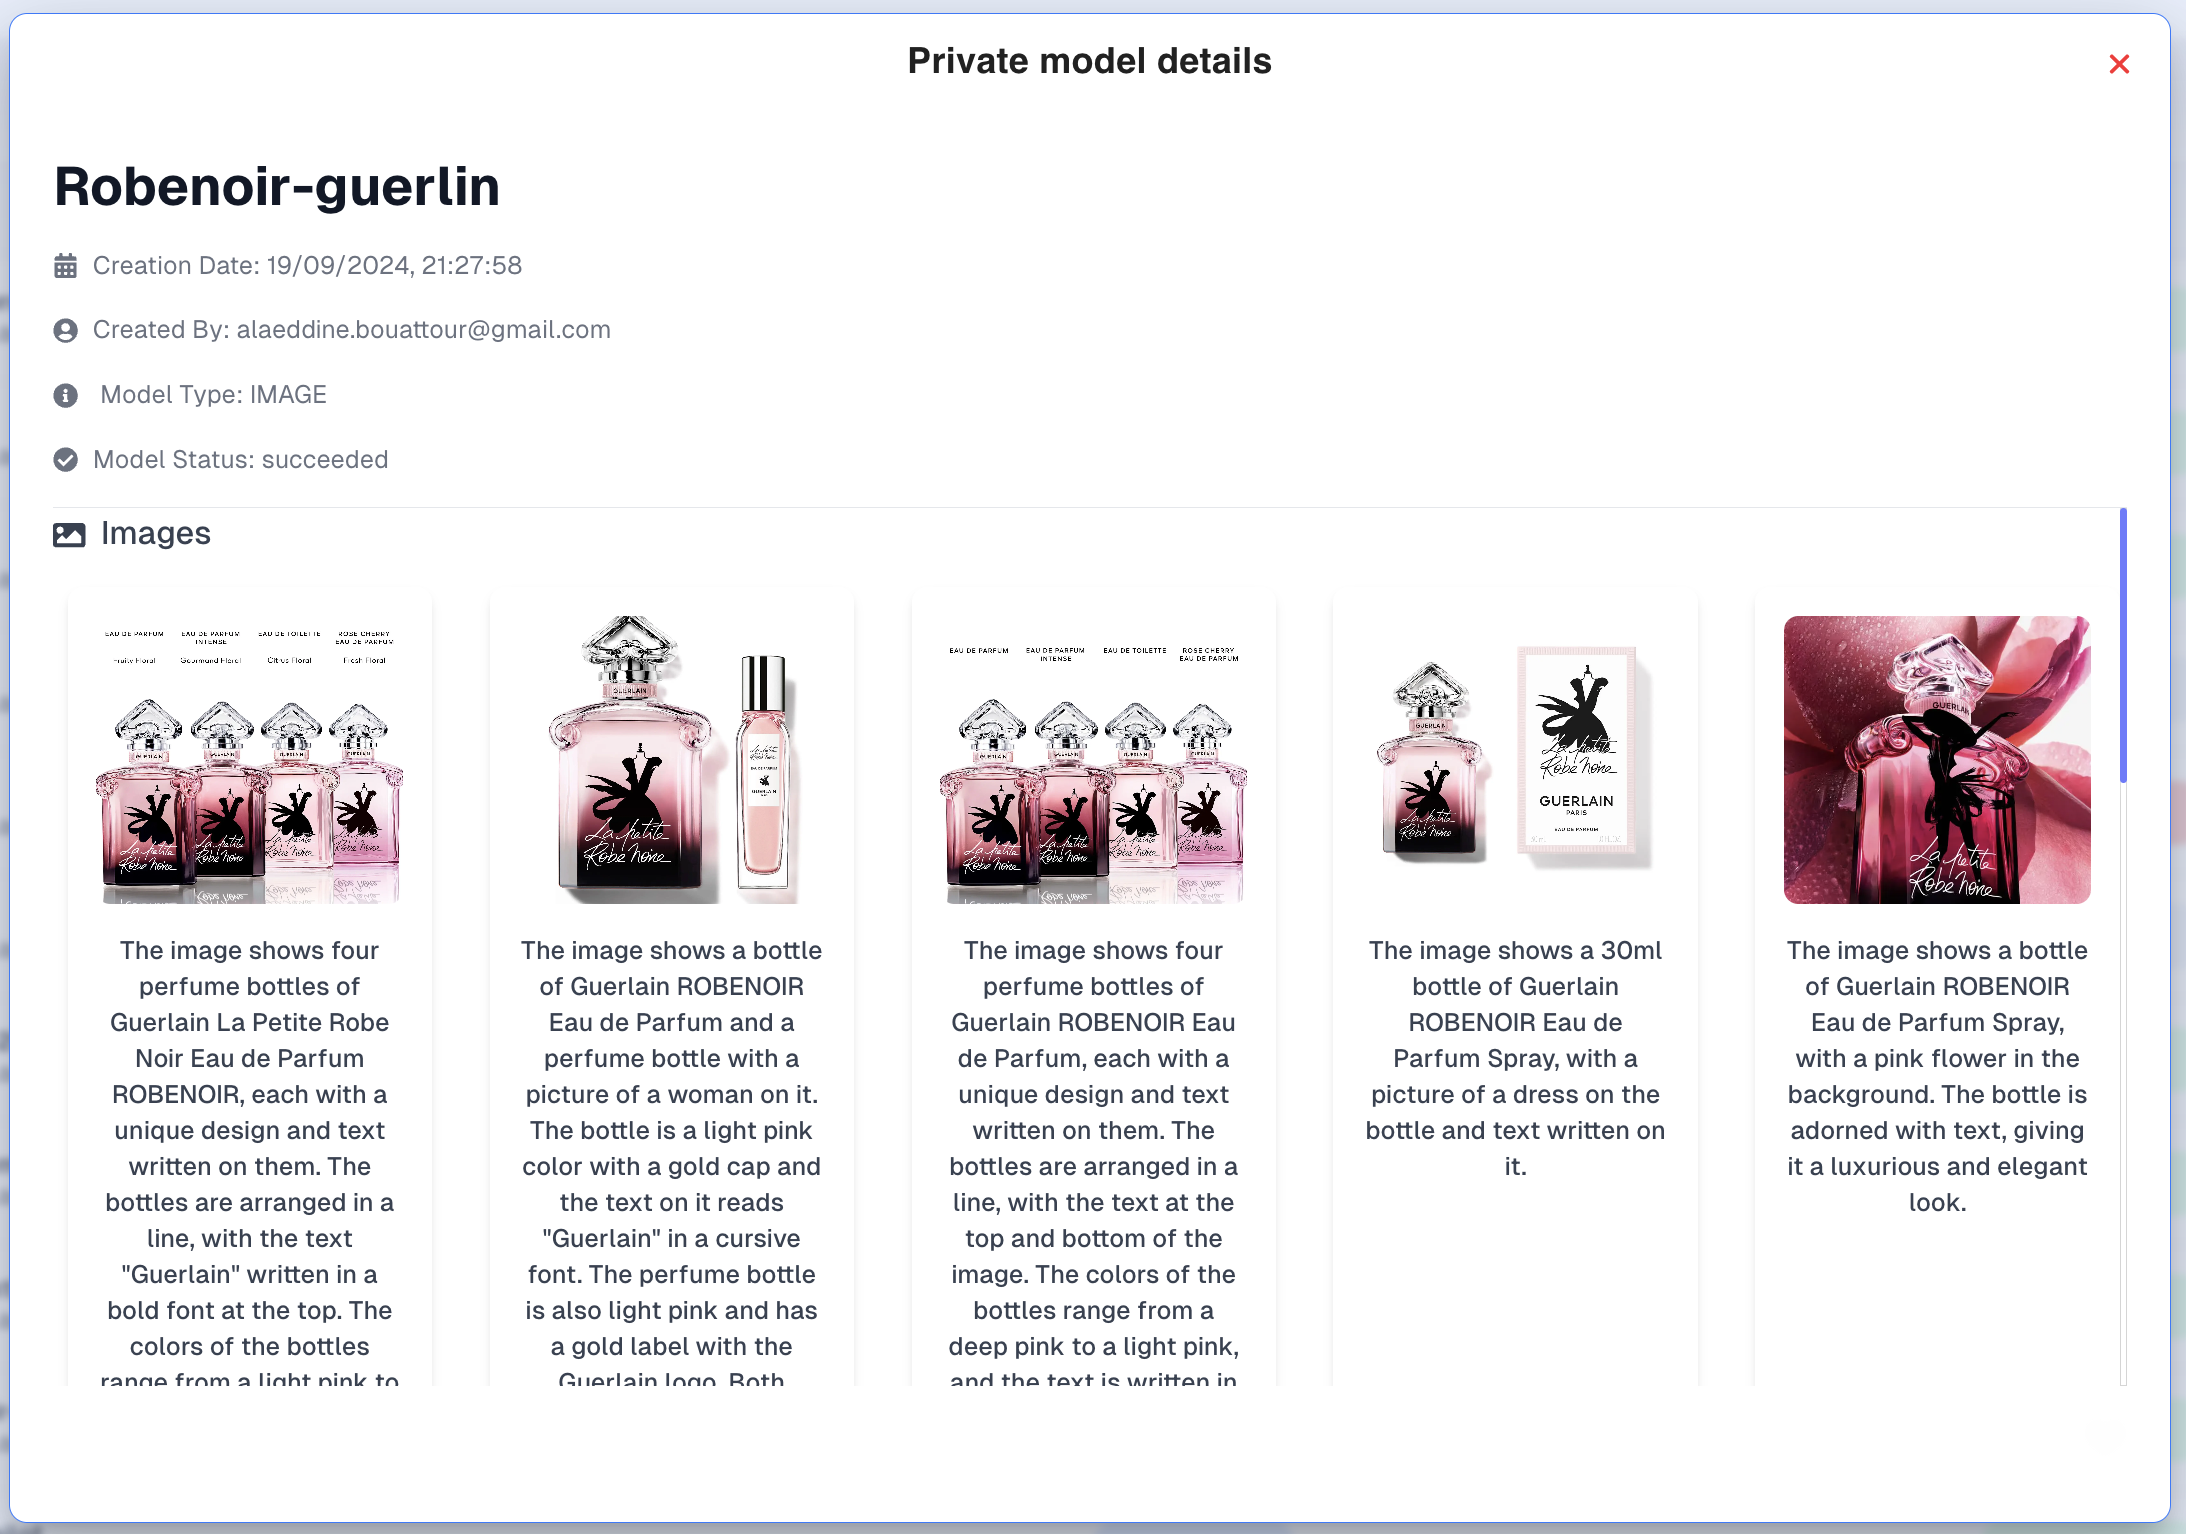
Step 6: Reviewing Fine-Tuned Model Informations
After the model has been fine-tuned, you can verify at any time the informations that it was trained on.
Conclusion
By following these steps, you can efficiently fine-tune your AI image models, ensuring that the generated images are tailored to your brand’s specific needs. The fine-tuned models can now be used to create hyper-personalized images for your campaigns, enhancing your brand's visual identity with AI-generated content that truly resonates with your audience.

